

Back To


Please Be Patient
The thumbnails may take some time to load.
Click on any picture to see a larger version
![]()
| The
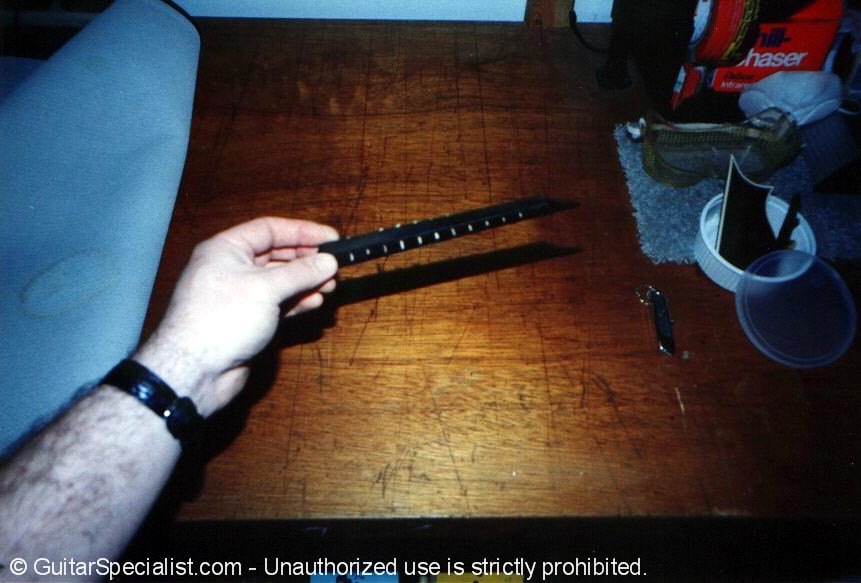
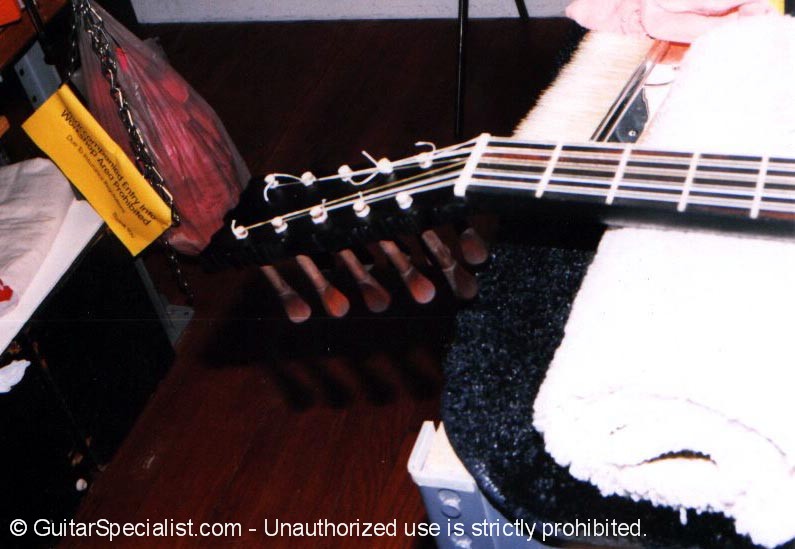
Patient: A 17th Century Lute with the possibility of having up to 28 strings on it (so stop complaining all you 12 string players). |
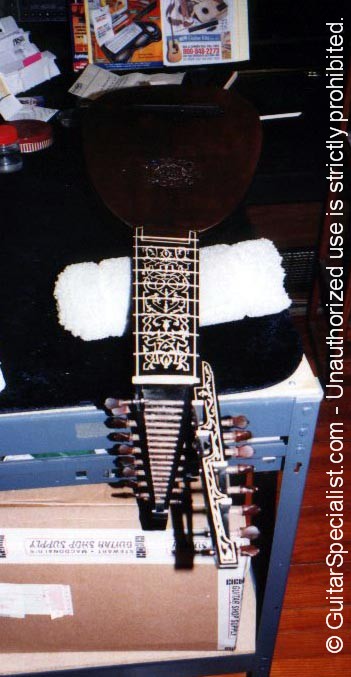 The Beast ! |
The
Diagnosis:
This instrument was
damaged in shipping (Fed Ex got the bill). There were several braces inside that had come
away, a few cracks in the top, the face had actually come away from the body at the lower
bout & had cracked the body (end grain runout). While we were at it Tim wanted us to
convert it from 13 strings (it's current configuration) to 16 strings. This required us to
remove the bridge, fill the old string holes & reset it for a properly spaced 16
string
|
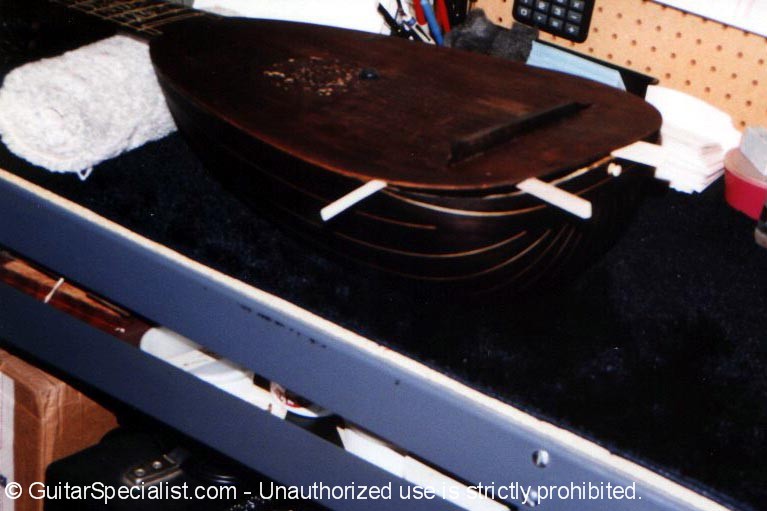
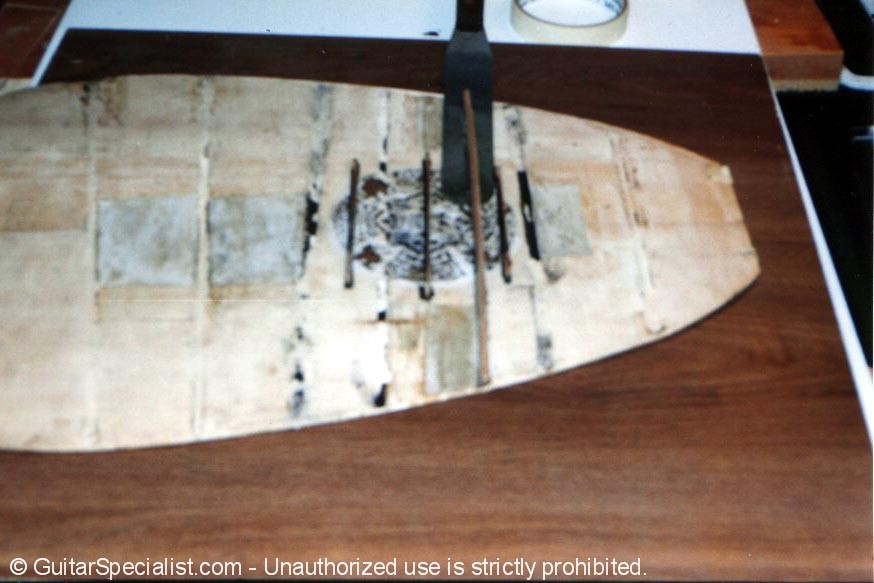
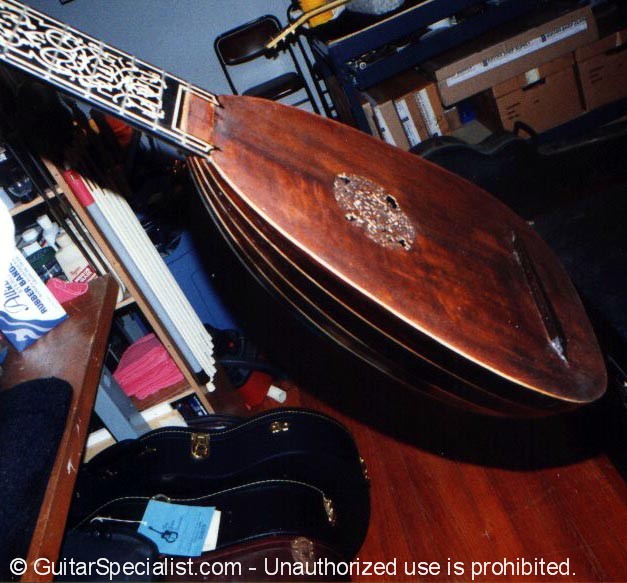
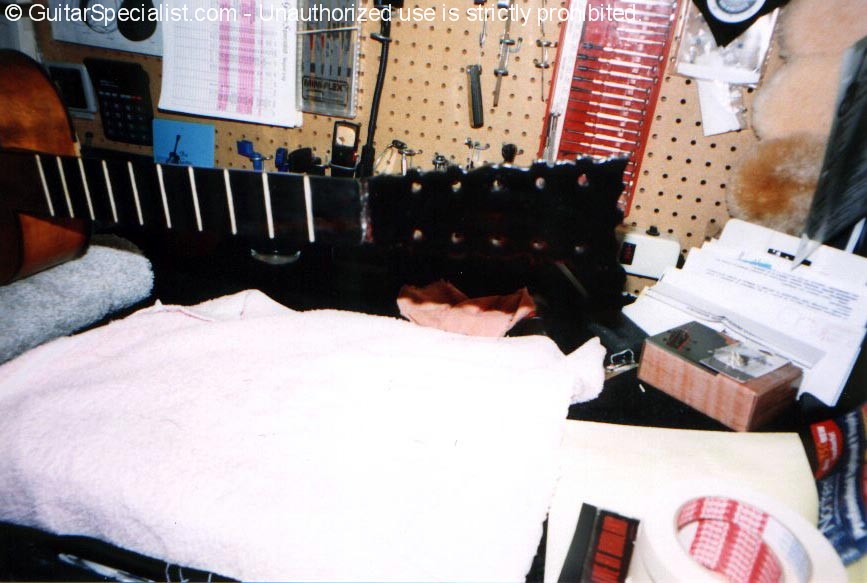
 Here's a shot of the face lifting away from the body. |
 You would think this makes it easy to get the top off - not so - the crack in the sides was going to cause a problem with grain runout. |
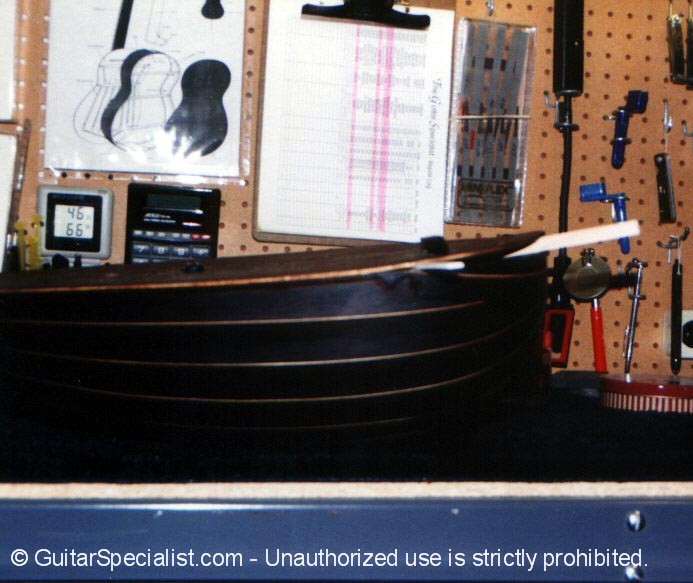
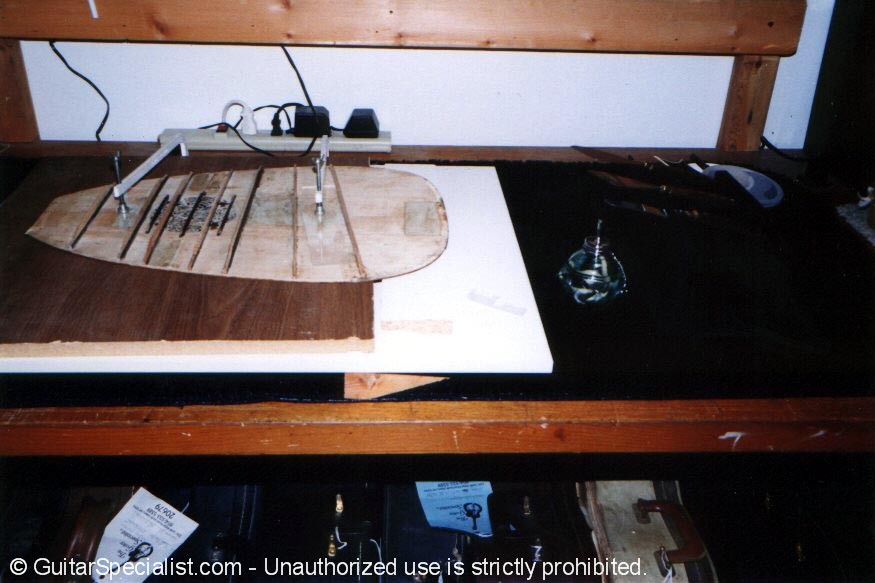
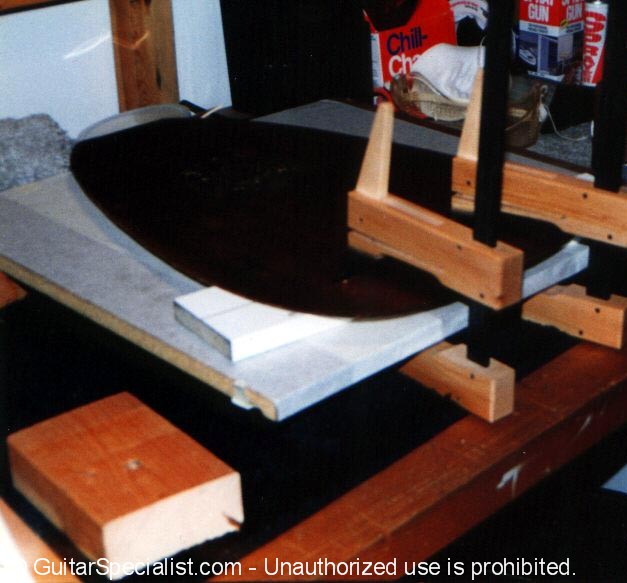
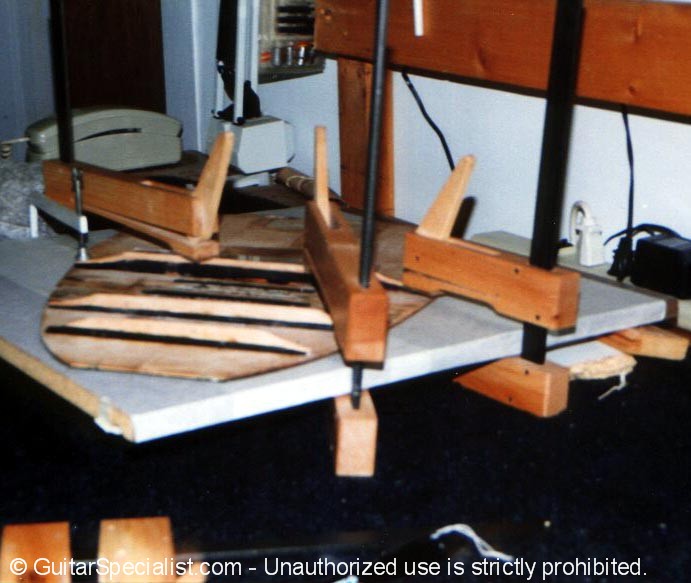
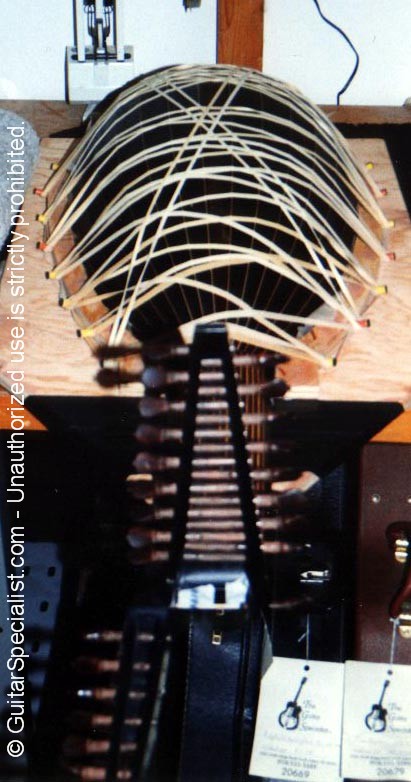
 The tricky thing about taking off the face of a lute is that the face actually helps keep the shape of the bowl. |
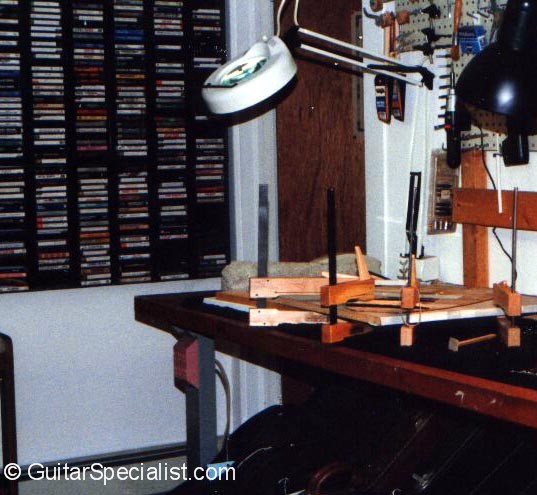
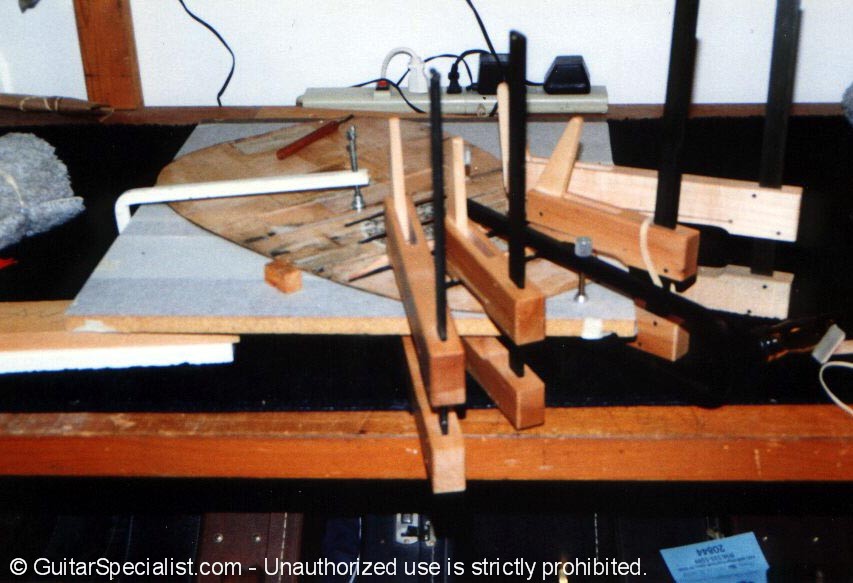
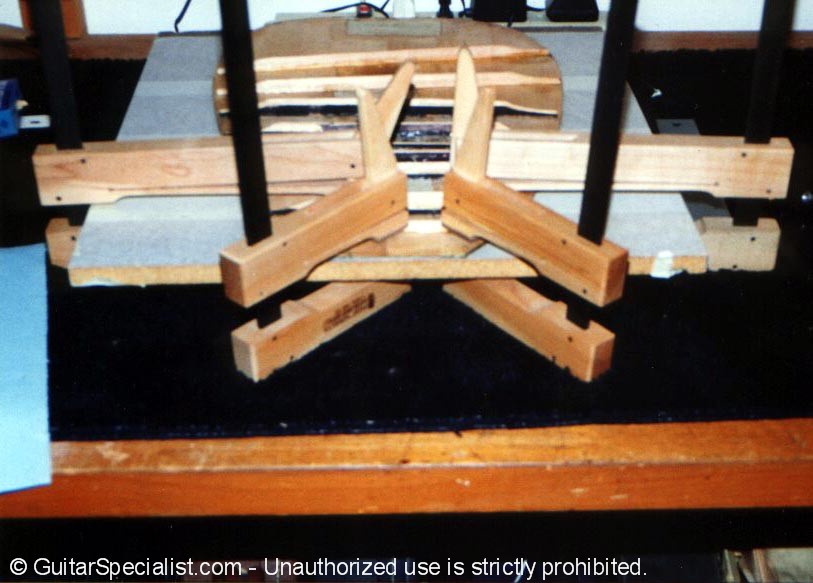
 That's where this comes in - a mold to help keep the body in the correct shape while the face is being worked on. |
 There are three supports inside to maintain pressure on the bowl so it doesn't sink in from the sides. |
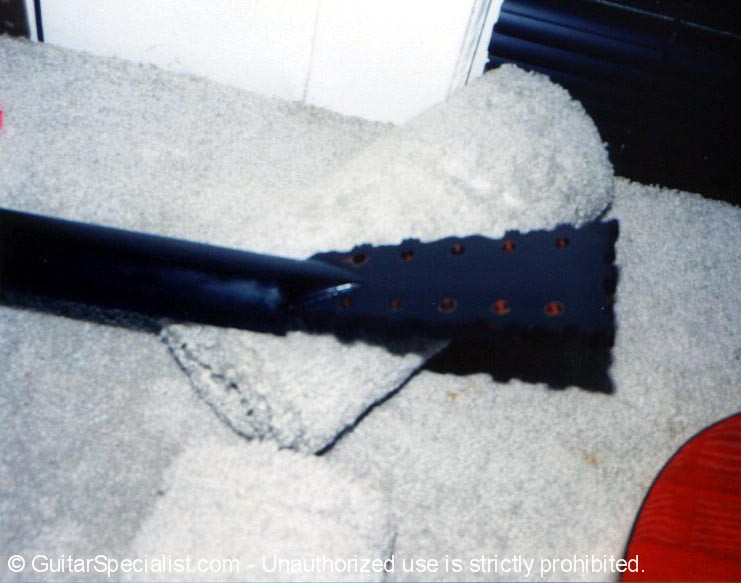
 That's some headstock aye'!
|
|
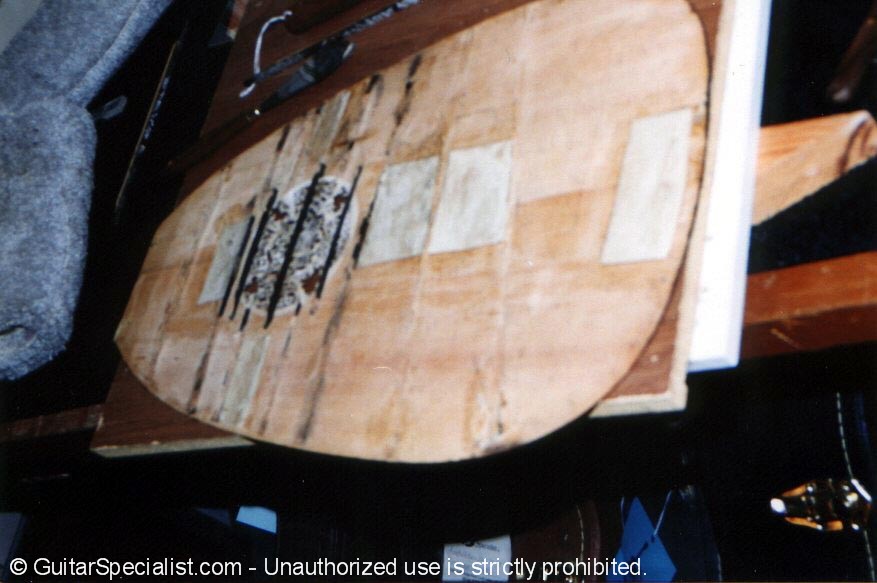
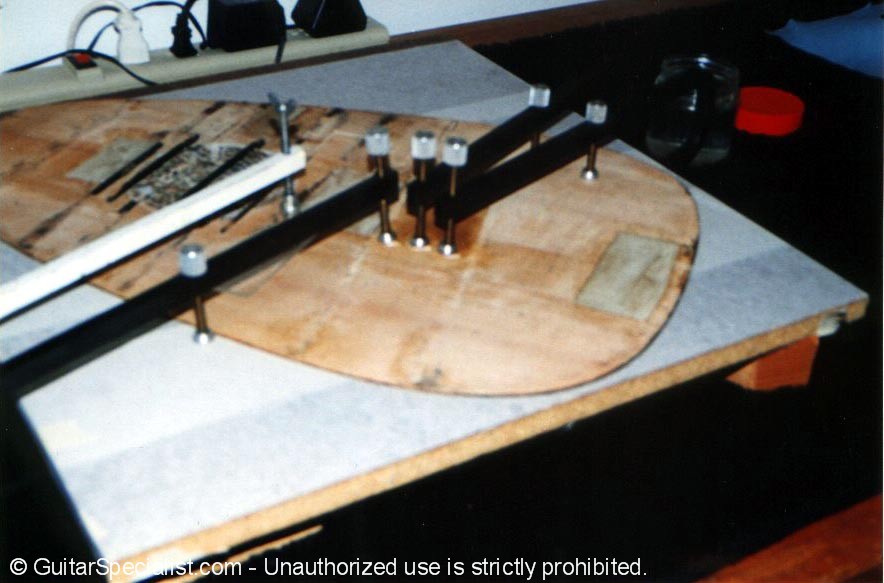
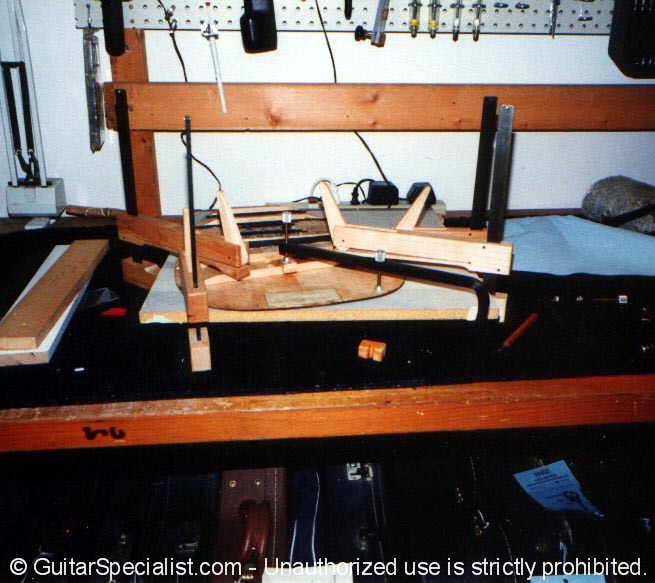
The mold will also help me get the clamping pressure I need to get the face back on after it's done. |
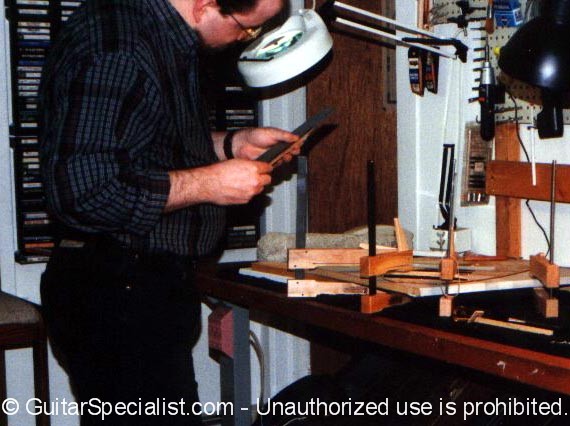
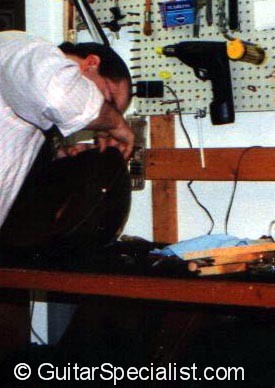
 Speaking of the face, I'm ready to start taking off braces. |
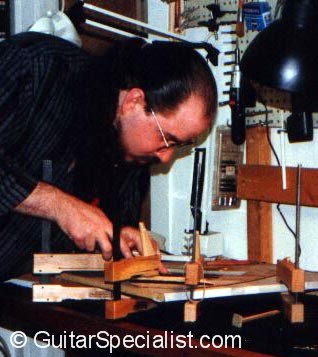
 First I'll start heating my weapons of choice with an alcohol lamp - as I pick up a hot knife - I merely move the lamp to the next knife so it will be ready for slicing when my current knife starts to cool.
|
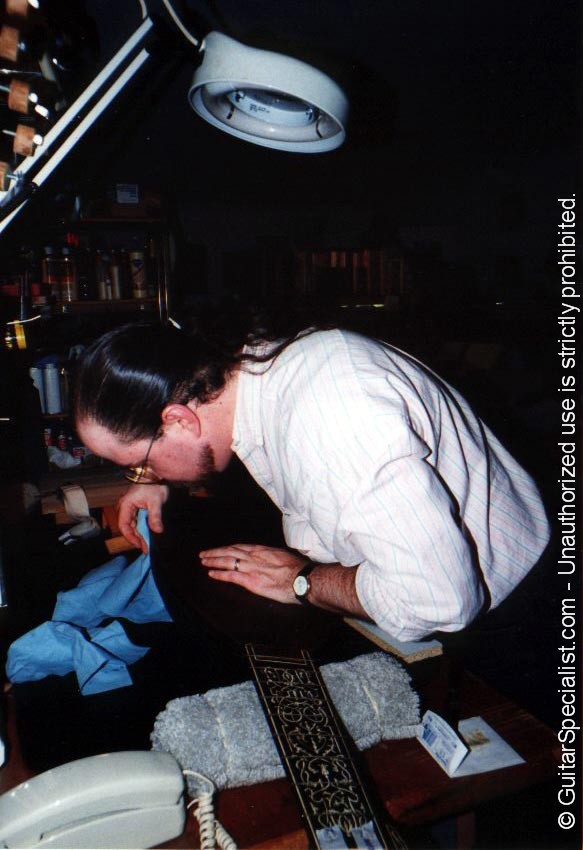
 The first brace just lifted away. I didn't even need a knife on this one. |
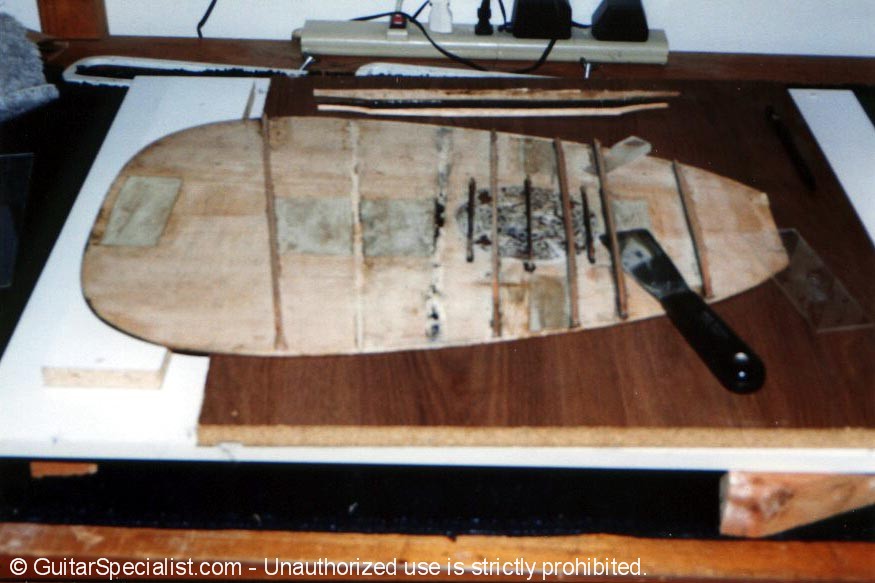 A couple of braces into things here - I'm using a tapered plexi caul to help lift the brace away from the face - gently. |
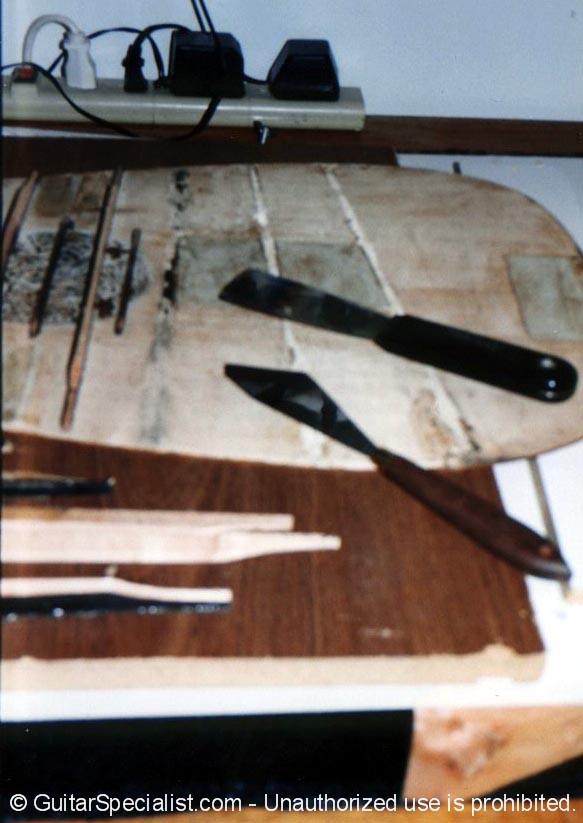 Here's Bonnie & Clyde - The best tools for this job. |
 Only a couple more to go now ! |
 This one is a really long/flexible knife that will get under the entire brace. |
 Do you think braceless is like being toothless? Sorry - a random thought. |
 The same has to happen to the bridge.
|
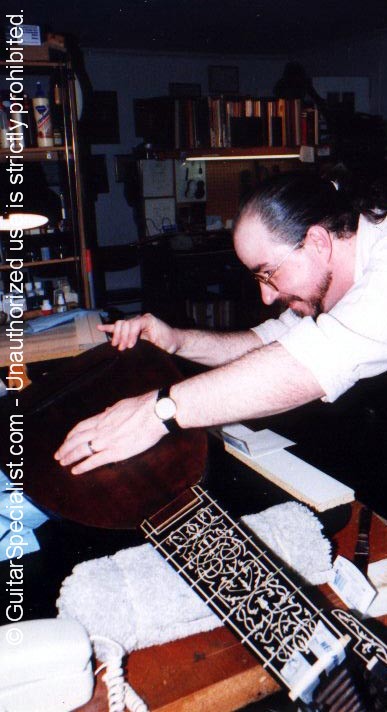
 Here's Bonnie in action again. |
 I came up with this quickie while struggling with the regular knife - this way I can apply equal pressure while I cut under the bridge. |
 That's some dark stain - the bridge is off. |
 The holes are filled with tiny dowels made out of the same wood as the bridge (fruit wood - believe it or not). |
 Here the bridge is getting glued back on after the new string holes were calculated & drilled. This actually happened after the braces were shaped and re-glued - but it seemed to make sense to show you here (artistic foreshadowing).
|
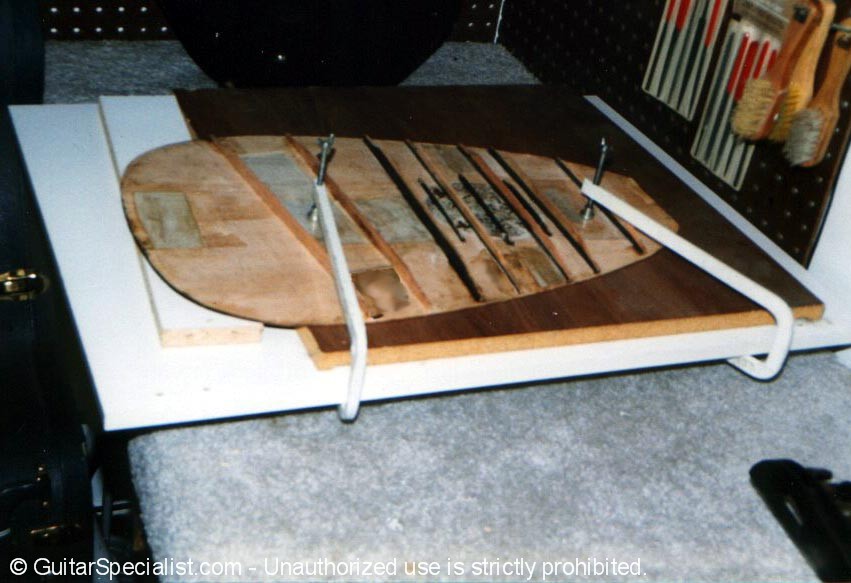
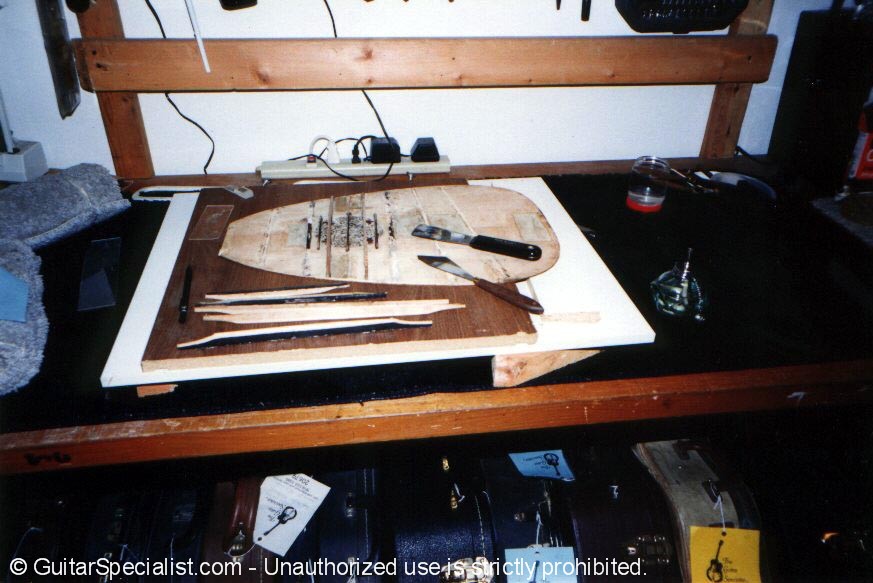
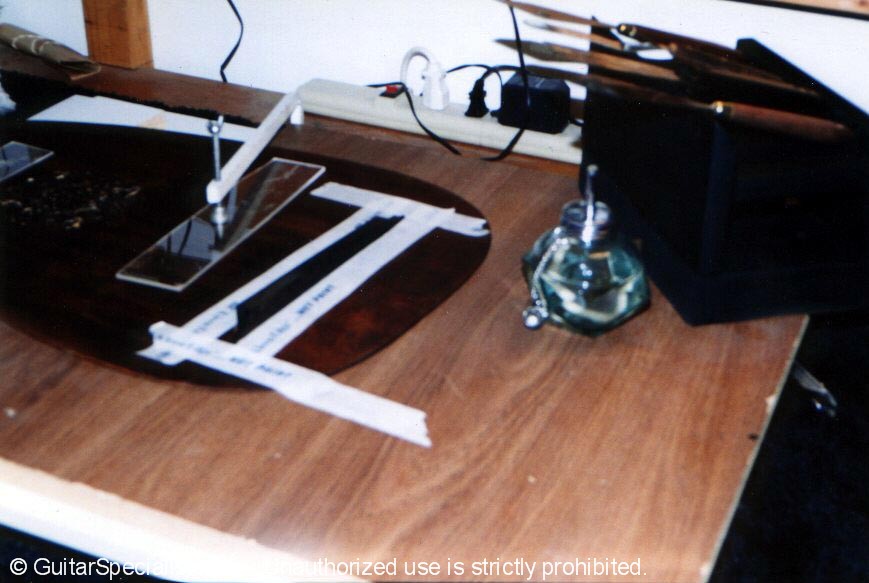
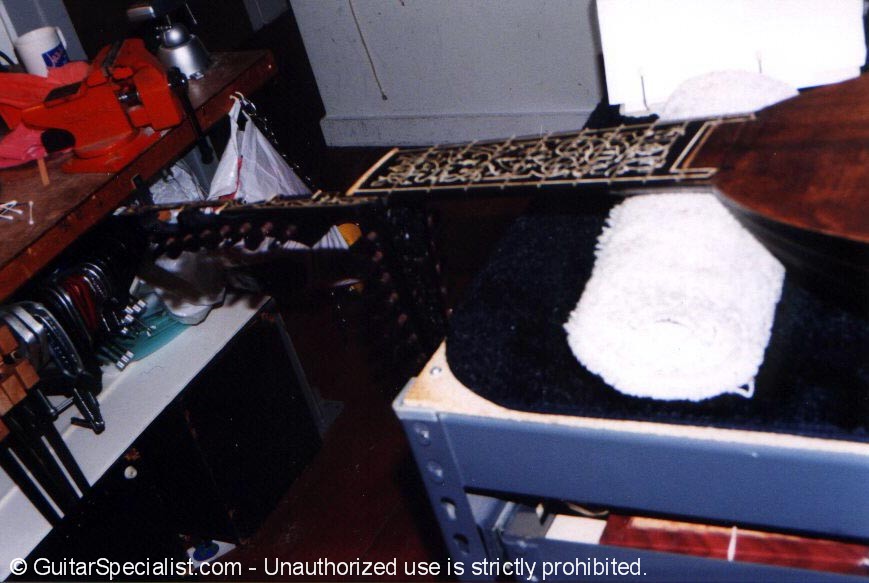
 Now - The Top! First I have to take care of those cracks - glue em up - and cleat them for support. |
 The workboard helps keep the top flat while I work on it. Can't have this puppy warping - and it will with no braces on it.
|
 After some trimming & shaping I can clamp up the first couple of braces using fresh, hot hide glue. |
 Take off a little here ... |
 ... a little there ... |
 .. making sure the braces have the correct profile when they're glued in.
|
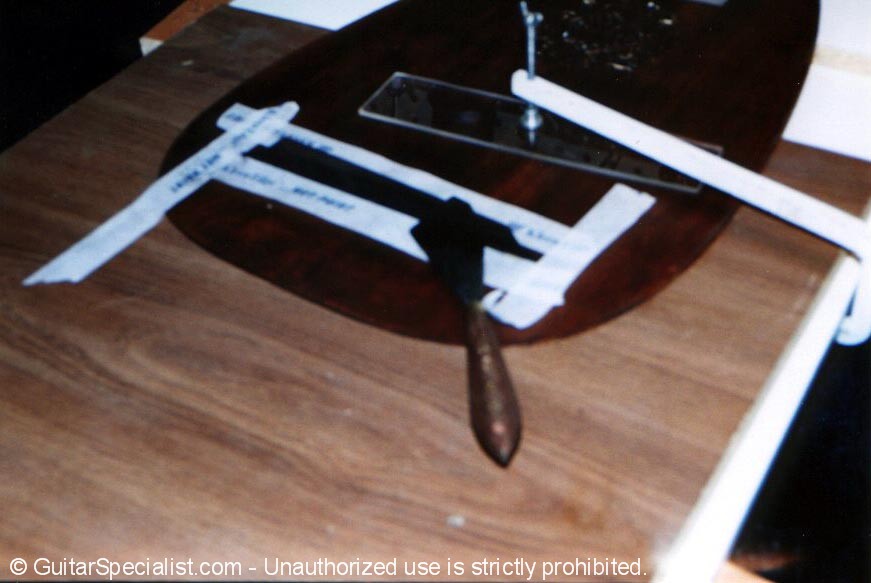
 I don't think I could live without a good set of precision ground straight edges - possibly my most used tools. |
 Stepping out for a quick smoke while things dry. |
 Cam clamps allow me to apply just the right amount of pressure to get things clamped up.
|
 Next brace... |
 ... and the next brace... |
 ` `... one more time..
|
 Here we go again. |
 Yup - you guessed it - another brace. |
 Here I'm adding a couple of small finger braces (spruce) to sure up the top that seemed pretty weak in the upper bout.
|
 And one last brace. |
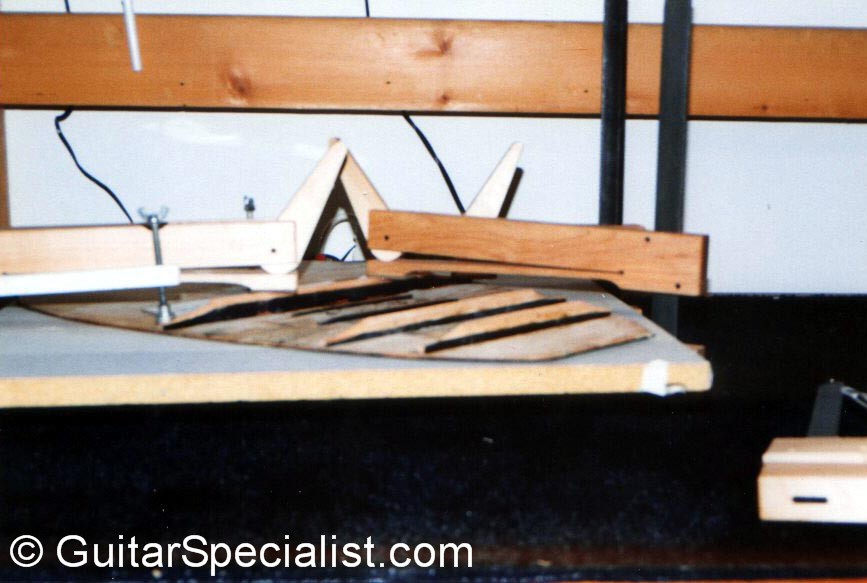
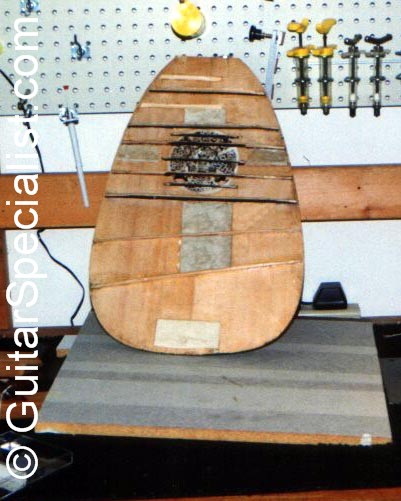 There ! Done - the top as it should look - if your sitting inside the lute, of course.
|
 Now it's time to put the top on the body - after the top has settled a bit & the glue has cured for a couple of days. Have to make sure we have a good fit before any hide glue is applied.
|
 Making sure to clean up any excess glue before clamping - we don't want to glue this thing to our mold do we? |
 One last look to make sure a good fit is assured.
|
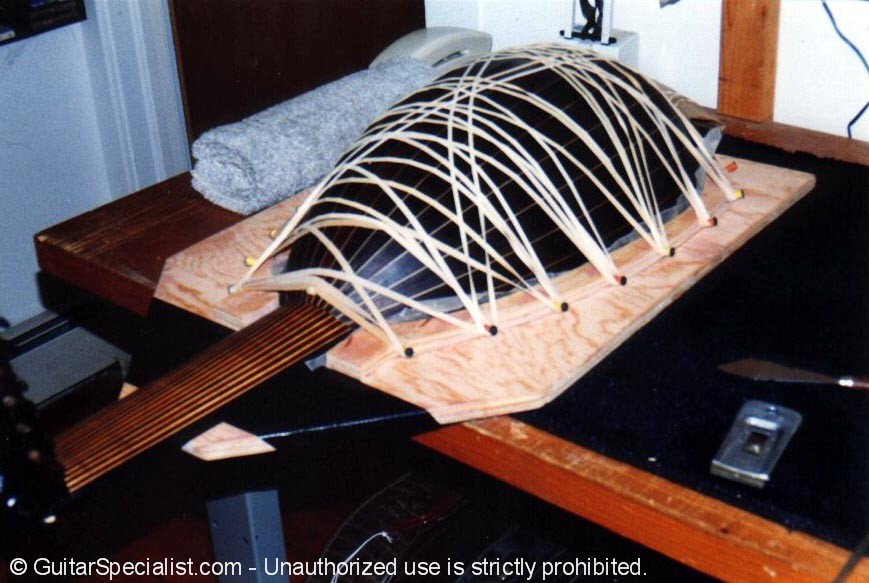 This is how we apply clamping pressure - lots of really big rubber bands - High Tech Stuff here, aye. |
 Reminds me of Gullivers Travels a bit - or am I inhaling too much hide glue?
|
 There! The top is on! |
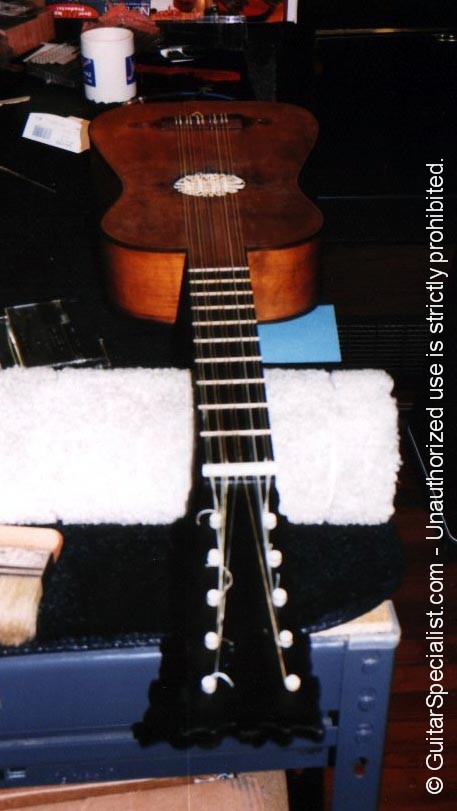
Another look at this beast fully assembled. |
 By the way - take a look at the inlay work that was originally done on the board - now that's craftsmanship. |
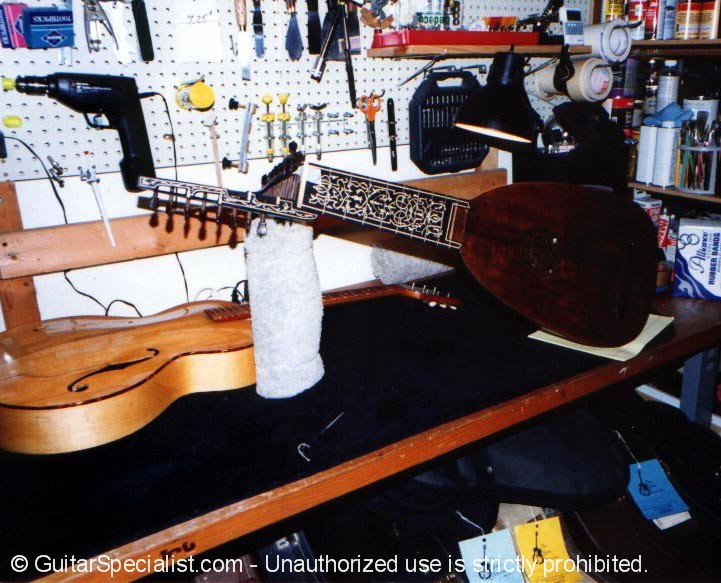 A good look at a job and a half - I'm not looking forward to putting all the gut strings on this thing. |
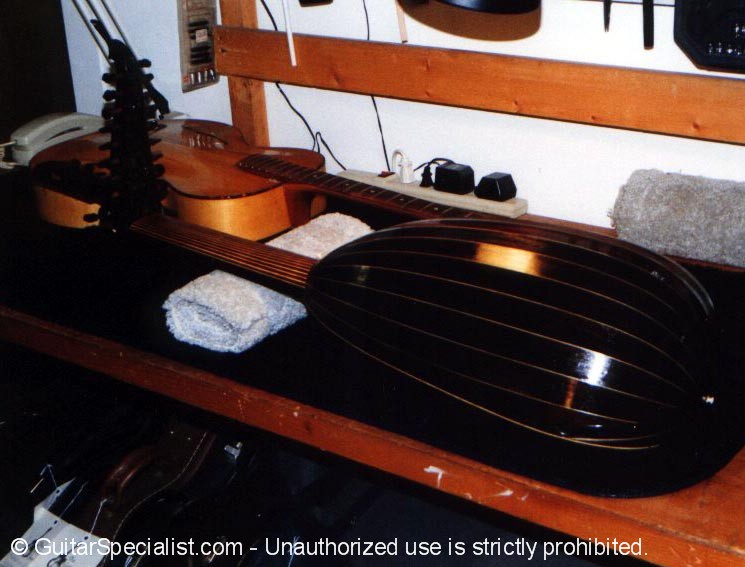 To give you an idea of the size of this instrument - that's an 18 inch by 3 inch archtop right behind this thing. |
![]()
| The
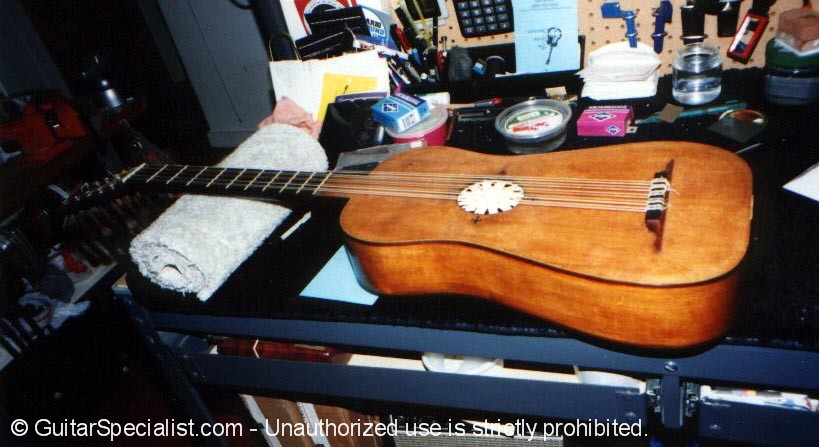
Patient: Here's another interesting puppy - a Victorian guitar. Not as ornate as most from that period but neat stuff. |
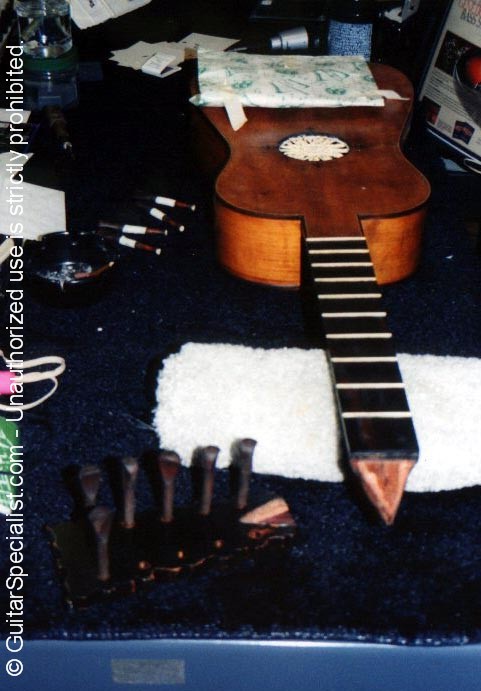 Keeping in style with the period, a "V" joint was used on the headstock - this is not going to be fun.
|
The
Diagnosis:
Believe it or not
this instrument was also damaged in shipping - this time courtesy of UPS. |
 You can see where the wood is now missing from the joint.
|
 After adding some wood & a veneer the joint is ready to be glued up. |
 After the head was glued back on (sorry no pics of the clamping - it was too much of a pain to do). I think I went out for a drink afterwards. |
 Now to take care of the missing pieces of the headstock. Had to use some plain old wood putty here. |
 Some minor touch up work with oil dyes. They would have used plant dye in the Victorian period ... |
 ... but I don't think Tim would have wanted to wait for me to grow them. |
 After applying some tung oil varnish. |
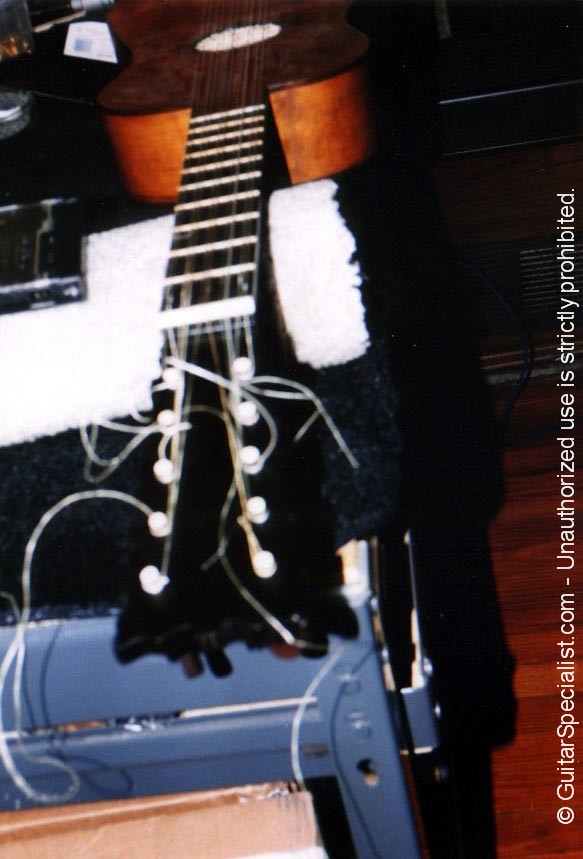 String-er' up - God I Hate Gut Strings. Incidentally, I'm not sure if you know this but there never was such a thing as cat-gut strings. Cats are too small for this. They used to use sheep - still gross but it made my cats feel better. |
 There - you cant even tell it ever happened ... |
 ... I won't tell if you don't. |
||
 Strange how things don't change that much over the course of time. |
![]()

![]()
|
(914) 401-9052 |
|
|
|
� Copyright 1998 - 2019 and beyond |